
In terms of technical development, my knowledge of 3D software, scripting skills and problem solving abilities have surpassed those that I need to be able to complete the projects I am currently working on.
This has given me the time and opportunity to focus on visual experimentation, bringing a bit more fun back into my work, and making it more interesting than searching through pages of MEL commands!
I have been experimenting with using the skills gained in the Going Live module, to enhance the output and presentation of my previous cell visualisation work - using my skills as a digital artist.
Starting with a previous data-set, I adapted one of my scripts to create locators instead of spheres. I then created a simple particle system and used a modified version of a script provided by the external examiner to 'attach' the particles to the locators. This meant that I could use Maya's own 'metaball' system - not strictly metaballs, as it is a particle render type called "Blobby Surfaces", but it gives a similar effect. The image below shows a beauty render of the blobby surfaces;
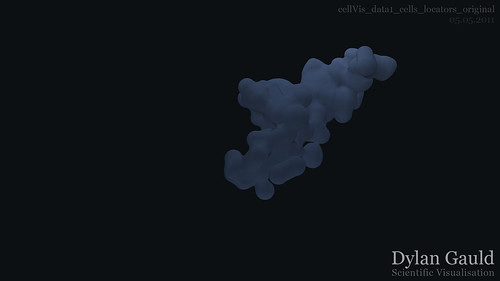
Once this model had been created, I started to experiment with shaders. After reading some articles in this months 3D Artist and 3D world magazines, I created an MIA mental ray shader, and added a mental ray fast skin shader (normally used for subsurface scattering) and adjusted the colours and attributes to create a suitable look.
I added lighting in the form of two area lights, which used the mental ray area light options to transform from squares into cylinders, 'wrapping' around my geometry. Decay was set to quadratic (to create more accurate lighting) and the intensity of the lights was increased significantly (around 4500 each).
The next stage was to incorporate dust motes floating around. This is something I could imagine in my head, but was not sure how to implement. I looked at adding this in post-production, but although this could be quicker, did not provide enough control (or use 3 dimensions). I created a new scene file and using a particle emitter, created a particle 'explosion' - the forces were then zeroed out, so that I had a static particle cloud. I added my own gravity and turbulence fields, and tweaked these until I had the movement that I liked.
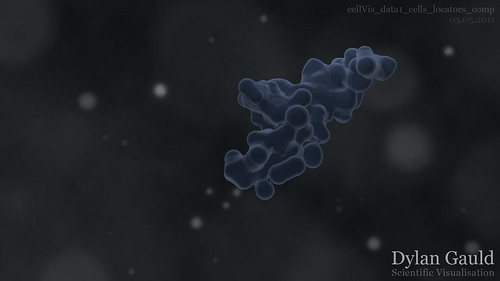
Finally, I setup render layers to output the passes I wanted - a MIA shader pass, a second MIA with an outline style shader, and separate pass for dust motes. After rendering a single frame, I moved into Photoshop and started experimenting with compositing these passes together, to create the look I wanted. I also added some fake bokeh effects in the background, coupled with some randomly generated cloud textures. The final image can be seen below, looking entirely different to how it first started (above);
At this stage, I wanted to make sure that I could recreate this look with image sequences, so I started work in After Effects. Fortunately I was able to mirror this image in video form, and can swap in the rendered image sequences when finished. By working in AE, I realised that I would need to add a matte pass for the cell geometry. Below, a short video shows the breakdown of how this shot was constructed, and although static, shows how a final video could look;
I have thoroughly enjoyed this experimentation, and I have created something I am really happy with - something very different to the first attempts (which can be seen in an earlier post here). Although I don't yet see this as a finished piece, I can already see ideas developing, and it is good to try new techniques and methods of presenting the same mathematical data... more importantly it is good to get back to being an artist, something that I did not realise I missed until now!
No comments:
Post a Comment