Since my previous post, I have continued working almost exclusively on 'Growth'.
All of the cell visualisation stages in Maya are completed (e.g. scripting, dynamics and render setup), and all the camera work has been (pretty much) finalised. Most of the rendering has now taken place, and I have spent a large amount of my time compositing the different shots and passes, using After Effects.
This uncovered several problems in the 3D work, such as dust particles floating in front of the camera, or 'through' the cells (which looks like they are being absorbed). These issues have taken longer to fix than expected, as it has meant rotoscoping out certain areas of some image sequences (primarily the depth passes). Although this is a time-consuming fix method, it is certainly much faster than recreating the particles and their movement in Maya, and then re-rendering several layers to be composited again.
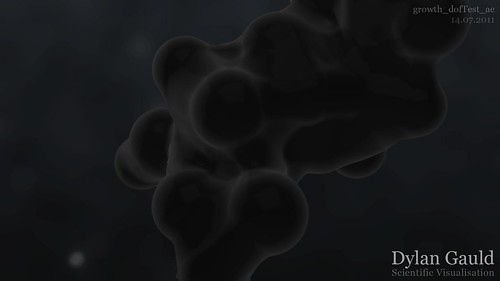
One of the main issues I am currently experiencing is the use of depth of field in my shots. I want a really shallow depth of field, giving the correct impression of (macro) scale. After Effects has a feature called Lens Blur, which allows me to composite using Maya's depth pass. Unfortunately, this feature is quite limited in terms of the amount of effect that can be applied, and isn't enough for what I am trying to achieve.
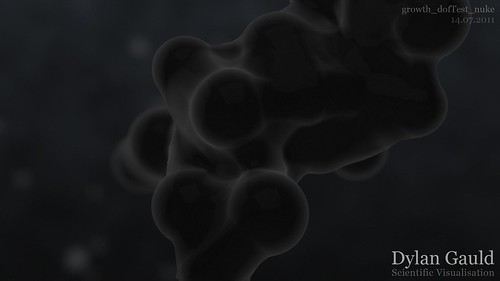
Because of this, I have started setting up one of the shots in Nuke. I tested this by using After Effects to render out a composited sequence, and applied the depth using a ZBlur node in Nuke. I was much happier with results that Nuke gave (and the use of the 'focal-plane setup' feature) so I have decided to rebuild the shots properly, using only Nuke.
Since most of the composition is blocked out and timed in After Effects, I will render each shot entirely out of Nuke, and take the completed shot sequences back into After Effects (which is the most straight forward way of working for me). The previous alternative would have been to create the shots in After Effects, render out composites for Nuke, apply the depth and tweak the shots, then bring them back into After Effects - a much more complicated process. I still want to complete the final project in After Effects, as I am much more comfortable laying this out on a timeline (which is already done anyway).
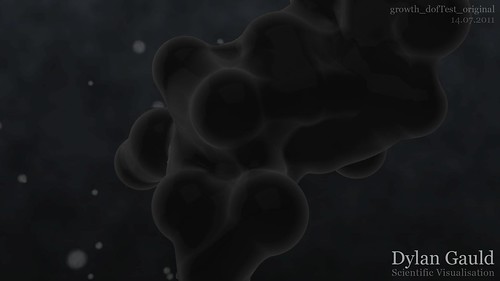
As part of my testing, I have generated 3 versions of the same frame to show the visual differences. The first is the original composited shot, rendered out of After Effects. The second image shows the outcome of using After Effect's Lens blur to add depth of the field. The third image shows the outcome when using the ZBlur node in Nuke.
One thing that became apparent using Nuke, is that not only did it allow me to apply depth of field in the way I wanted, it created less banding in the rendered TIFF files. Banding is something I have struggled with so far (because of the subtle variances in colour), so this is another advantage of using Nuke!
Moving forwards, I plan to continue compositing the shots initially in Nuke, and then bring everything together in After Effects. This should be the best way of achieving the look I want, and avoiding the banding that was present in After Effects.
The next step beyond this, is starting work on a 'making of' video (for the degree show), which will contextualise the content of Growth, and provide more information on the methods used during it's creation.


No comments:
Post a Comment