
Over the last few weeks, I have been trying to finish compositing "Growth".
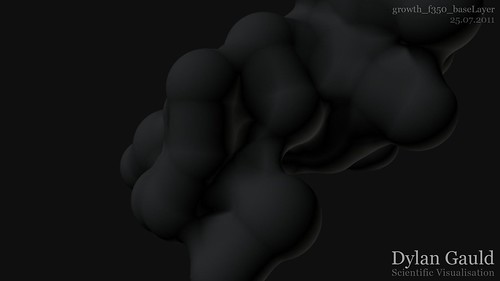
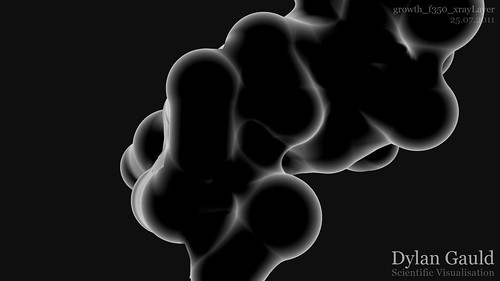
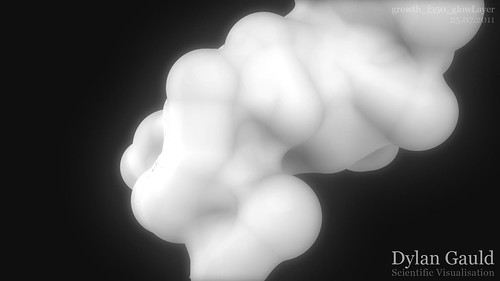
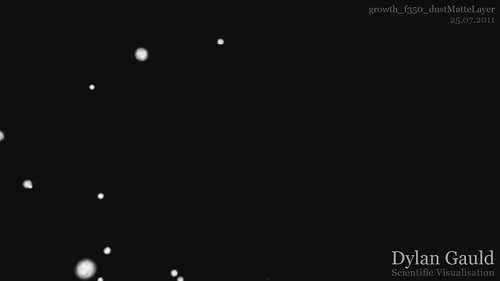
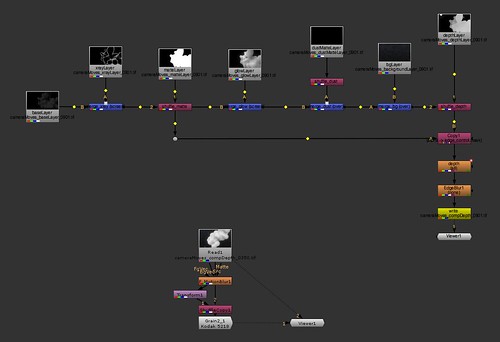
As mentioned in a previous post, I have been working in Nuke to put all of the render layers together and adjust all of the visual attributes. Growth uses a variety of passes (rendered out of Maya), and these are shown below;


I was initially having problems adding depth-of-field (my frames were acquiring 'stepped' edges) in Nuke, but as part of our masterclass with Hugo Guerra, I was able to get Hugo's help in fixing this (well, it couldn't be fixed, but we found a way to work around the problem!).
Beyond this, I was able to get some great feedback from two of my classmates, on how to improve the final output of my work.
Mark Haldane suggested that I 'grade' the cells, as they could do with a bit more contrast/definition.
Matt Cameron suggested that I should try adding motion blur and chromatic aberration.
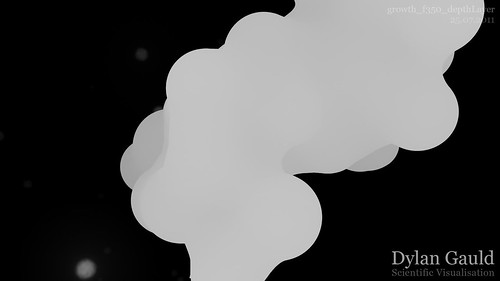
At this stage, I had already created Nuke scripts for each of the shots, which would combine all of the render passes, add a background and calculate the depth-of-field.
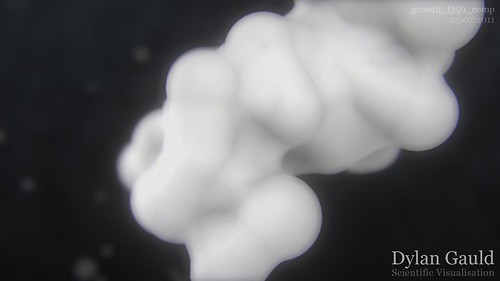
I then created a second Nuke script, which would take this first rendered sequence and add the chromatic aberration, motion blur, and film grain.
The image below shows one composited frame, after it's been through all of the stages outlined above;
Compositing has definitely transformed the outcome of my project. Although my main abilities are in 3D, I also realise the importance of compositing and how being able to use these additional skills can improve the presentation of my 3D work.
In the case of "Growth", the advice I have received has definitely been good, and is helping me to take my 3D work to the next level!
No comments:
Post a Comment